
TECHNICAL NOTEBOOK / DISPLAY
A display that stays readable between wake-ups.
E-paper retains an image without continuous refreshing. To make use of this, first obtain a stable display before adding networking or sleep.
1. Prepare the hardware
You need a classic ESP32 board, a display with a compatible interface board, a USB data cable and eight short connections. Disconnect the power before wiring. Classic ESP32 GPIOs do not tolerate 5 V logic: check the signal voltage of the display board, even if its power input accepts several voltages.
Install ESP32 board support in Arduino IDE and the GxEPD2 library with its suggested dependencies. Record the versions used in your test notebook so that you can reproduce a problem.
2. Follow the project wiring
| Display | Classic ESP32 | Role |
|---|---|---|
| VCC | 3V3 | Power supply for the documented setup |
| GND | GND | Common ground |
| DIN | GPIO23 | MOSI: data to the display |
| CLK | GPIO18 | SPI clock |
| CS | GPIO27 | Display selection |
| DC | GPIO26 | Data or command |
| RST | GPIO25 | Reset |
| BUSY | GPIO33 | Controller busy state |
These numbers identify GPIOs, not connector positions. This plan cannot be applied directly to a XIAO ESP32-C3. Do not connect the e-paper and LTE-M projects together without reviewing the assignments: GPIO25 and GPIO26 have other reserved roles in the field project.
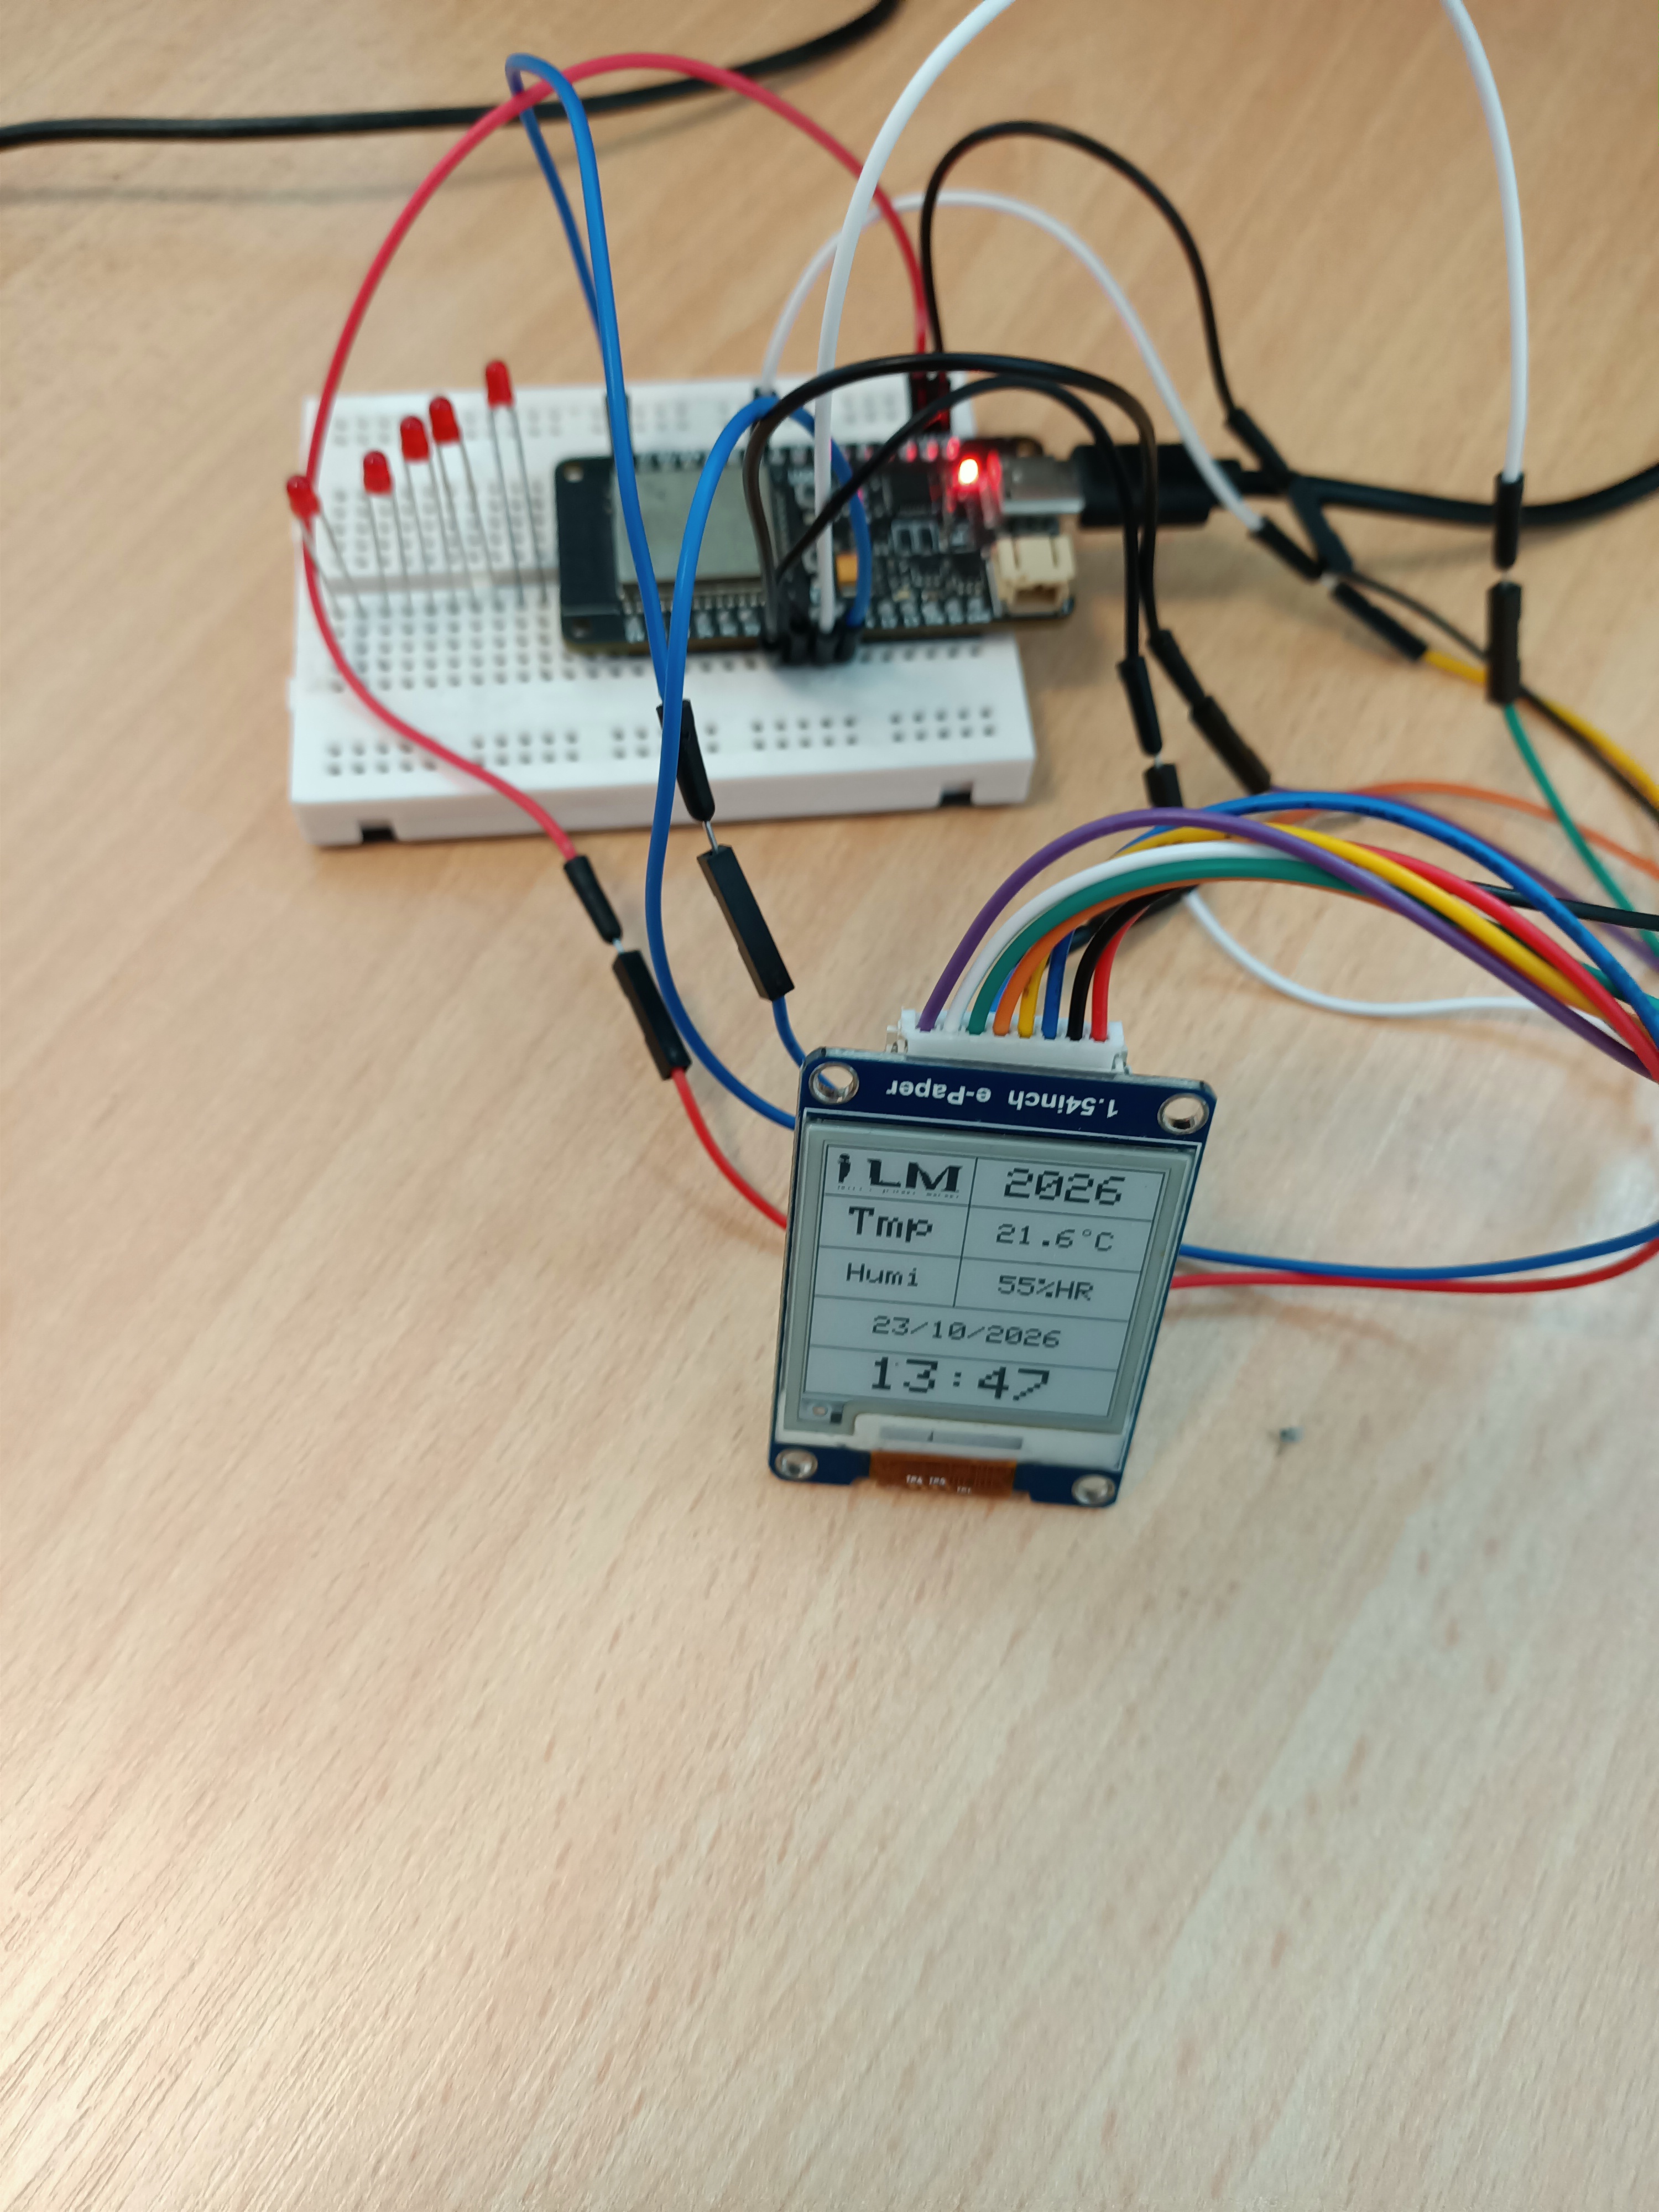
3. Isolate a first display test
This educational program does not connect to Wi-Fi or read a sensor. It displays fixed text to separate SPI errors from acquisition errors. The explicit SPI.begin call makes the bus pin assignments visible.
#include <SPI.h>
#include <GxEPD2_BW.h>

using Panel = GxEPD2_154; // V1 uniquement : identifier la dalle
GxEPD2_BW<Panel, Panel::HEIGHT> display(Panel(27, 26, 25, 33));

void setup() {
  Serial.begin(115200);
  SPI.begin(18, -1, 23, 27); // SCK, MISO inutilisé, MOSI, CS
  display.init(115200);
  display.setRotation(0);
  display.setFullWindow();
  display.firstPage();
  do {
    display.fillScreen(GxEPD_WHITE);
    display.setTextColor(GxEPD_BLACK);
    display.setTextSize(2);
    display.setCursor(10, 40);
    display.print("Quiet Bee");
    display.setCursor(10, 80);
    display.print("Test affichage");
  } while (display.nextPage());
  display.hibernate();
}
void loop() { delay(1000); }
Expected check: a full refresh may make the panel flash, then the text remains visible. This code is a starting point to compile for your target; it is not a hardware test report. A V2 panel may require GxEPD2_154_D67: only change drivers after identifying the panel.
4. Diagnose faults before adding a sensor
| Symptom | Useful check |
|---|---|
| Blank display | Check VCC/GND, CS and DC; confirm the panel driver. |
| Endless BUSY wait | Check BUSY and RST, then the power supply and controller reference. |
| Rotated or offset text | Test setRotation and the coordinates before changing the wiring. |
| Ghosting after several updates | Return to a full refresh; follow the manufacturer's recommendations for partial updates. |
| ESP32 restarting | Read the serial log and check the power supply, short circuits and USB cable. |
5. What hibernate really means
display.hibernate() affects the display controller. The ESP32 processor remains active in loop(). To save battery power, you must also stop unnecessary peripherals and schedule the microcontroller's deep sleep. A retained image is not a recent measurement: add a timestamp or an age indicator to a field display.
The original temperature and humidity program uses simulated values. Before calling it a weather station, replace this generation with a sensor reading and handle errors without turning them into plausible values.
Sources and references
The schematics for your hardware reference and the documentation for your software version take precedence over a generic example.